When we visited my family in November my ever talented niece Anna blew me away with a delicious loaf of bread. It was crunchy, it was chewy (in a good kind of way) and it was delicious. It looked like it came out of a specialty bakery, but she assured me it was easy to make. I had to know her secret!
While she shared her wisdom, the loaf she made was created with white flour (it was airy and fluffy like an afternoon cloud); I had to make some changes to make this bread as close to whole wheat as possible.
When we got home I looked around the web to find more inspiration. I landed on a couple of pages that made me drool and propelled me even more to make no knead bread myself:
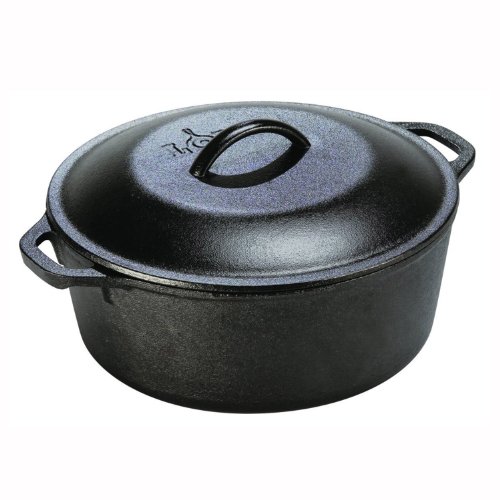
There was only one catch–all no knead recipes called for a Dutch oven. Since I already have all the pots I will ever need, and would not be using a Dutch oven for anything but baking on occasional loaf of bread, spending $100-200+ on one made no sense. After a couple of weeks of searching and help from BBP boot campers, I settled on a 5 qt. Lodge Cast Iron Dutch oven and got it for only $33!
The same day I started a batch for my first ever whole wheat no knead bread. The first loaf turned out AMAZING, but I wanted to tweak it a little bit to make it perfect before sharing the recipe. In addition Hubby, who recently publicly announced that he is giving up sweets, begged me to make an apple bread, which meant I had to make more than one loaf. So, I will be sharing not one, but two amazing, easy to make breads with you today. (I prepared dough for both at the same time, and gave whole wheat one more time to rise, while the apple raisin loaf was baking.)
The recipe is EASY to make–even a novice baker can whip up one of these–I actually think that Sprout will be easily baking this by the time she is 4 :). And, according to this site, a loaf like this ends up costing only about $0.80! Can’t beat that!
Whole Wheat No Knead Bread Recipe
yields 1 loaf
- 3 cups whole wheat flour**
- 1 cup white unbleached flour**
- 2 cups slightly warm water (half of a cup for each cup of flour, in case if you decide to increase the size of your loaf)
- 1-1.5 tsp salt
- 1 tsp unbleached sugar* (optional)
- 1.5 tsp instant or rapid rise yeast
- in a deep glass or ceramic bowl combine yeast, salt and sugar
- add flours and whisk everything together
- add water, and mix everything with a spatula--the mixture will look moist and sticky--but that is ok!
- cover the bowl with either plastic wrap or a lint free towel and set on a counter for 12-18 hours (I let mine sit for 15 hours). If you want an loaf of bread in the morning, get your dough ready the night before!
- The next day, preheat oven to 450 F (235 C); take the Dutch oven and the lid and place inside for 30 minutes
- while the Dutch oven is warming up, take some flour and spread on a dry counter
- take dough out of the bowl and place on the floured surface
- fold it over a couple of times, adding flour as needed, and form into a ball
- place it seam down and cover with the bowl or plastic wrap, so it can rise for 30 minutes, while the pot is pre-heating
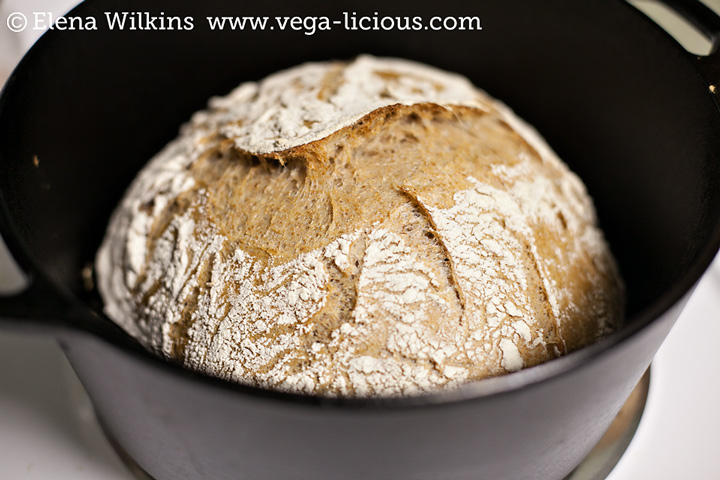
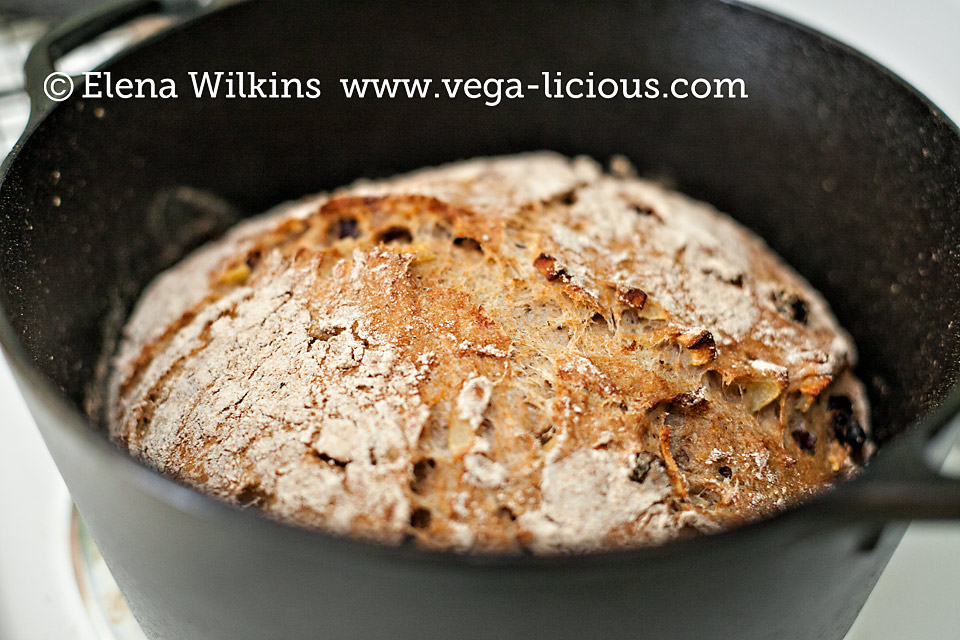
- when the Dutch oven is heated, using oven mittens or thick towels, take it out of the oven; gently and carefully take the dough ball and place it (drop) inside, flipping it over, so the seam side is up
- cover with the lid and place into the oven for 45 minutes
- at 45 minutes, remove the lid...hold yourself back from squealing from joy and exercise patience, leave the loaf in for another 5 minutes to brown
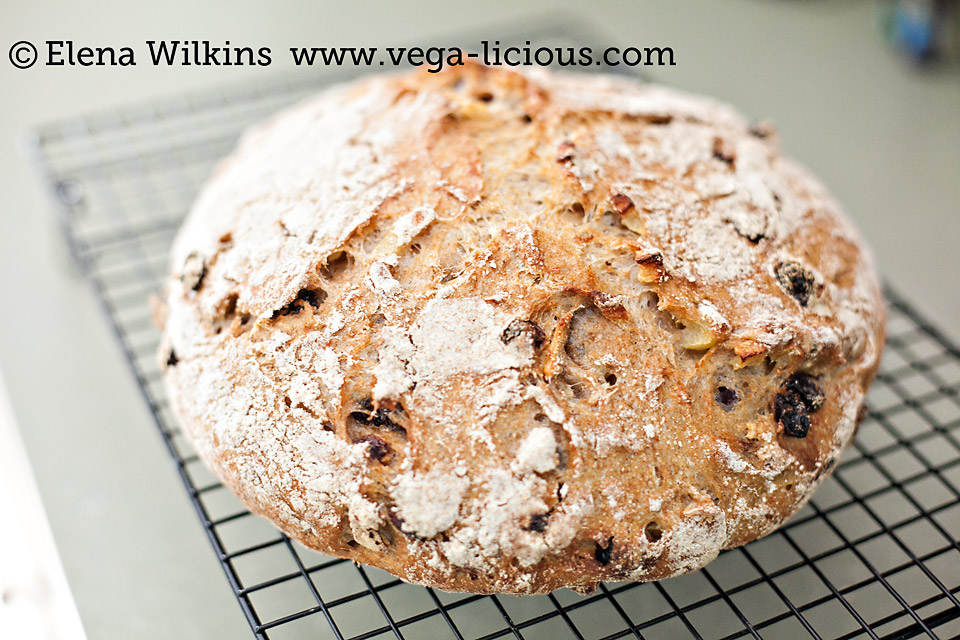
- when the timer goes off, take it out of the oven, but remember--that pot is crazy hot--either flip it over, or use a spatula to get bread out of it, and place it on a cooling rack
- let it cool for 40-60 minutes before devouring it, otherwise bread will be gummy if you cut into it too soon.
2. **my niece sifts her flour twice before mixing it in with other ingredients. She insists it adds to how fluffy bread would turn out. I tried it both ways and think that sifting made a slight difference.
3. I mixed my dough late at night, so no prep images (sorry!). I will try to remedy this situation the next time I am making a loaf. If you want to see how the dough should look, visit Crusty Bread post.
4. You can add any assortment of ingredients: seeds, nuts, dried fruit, herbs, etc., to this recipe and it will come out very delicious.
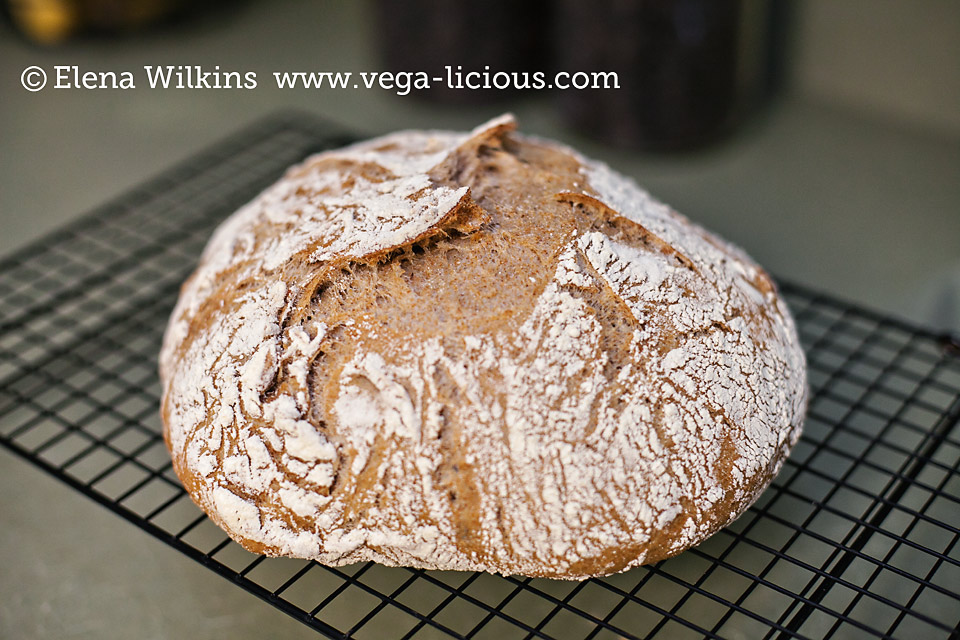
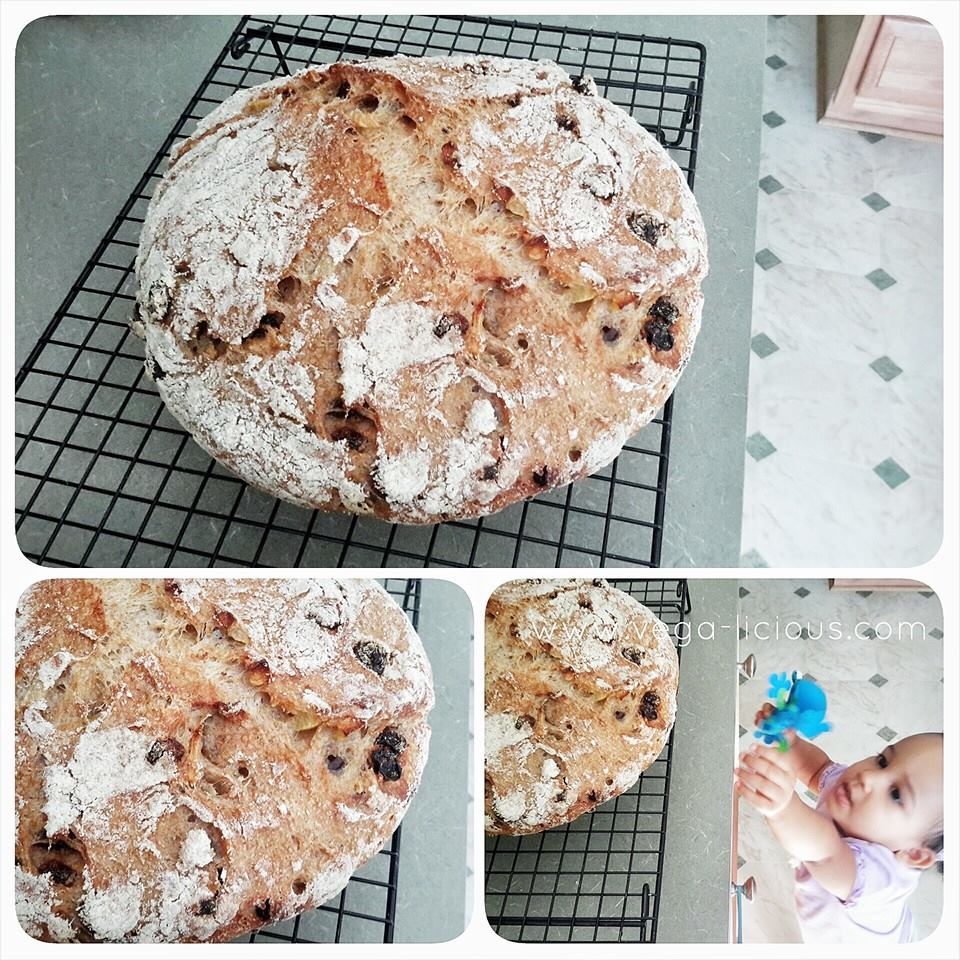
Then…behold the beauty!
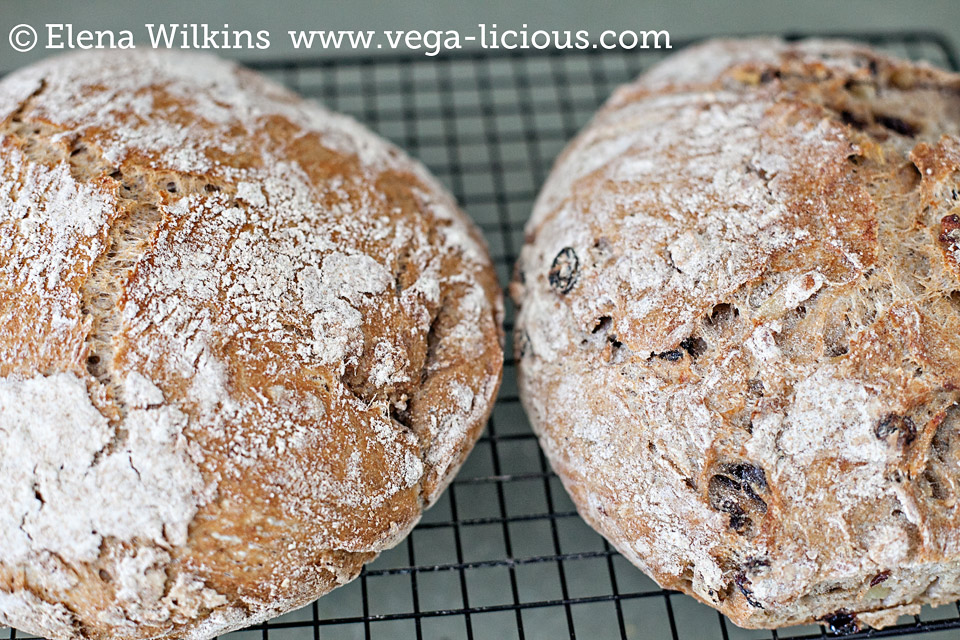
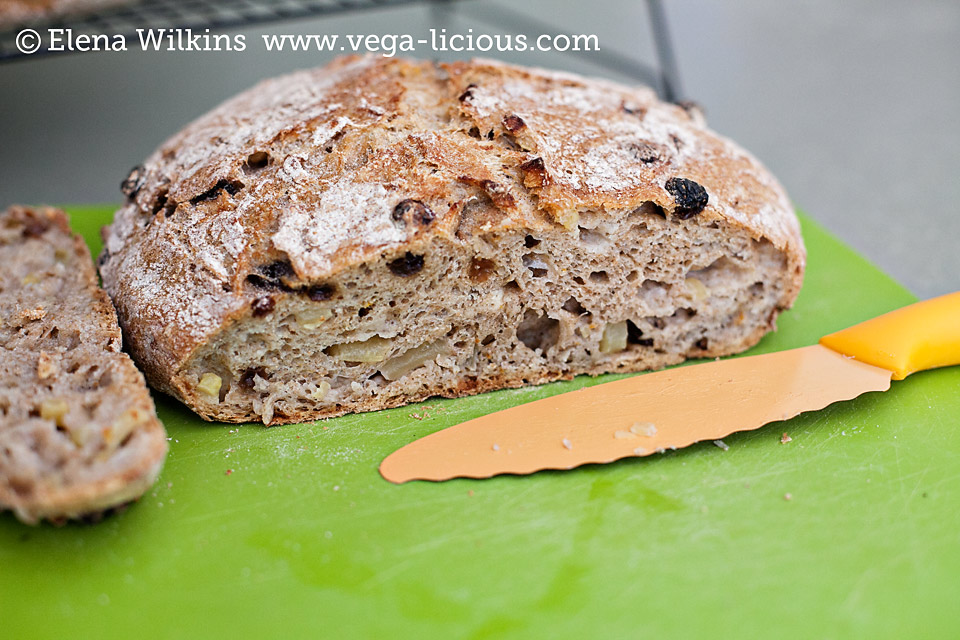
To satisfy Hubby’s sweet tooth, I made apple raisin variation, without adding any sugar (except for the teaspoon to help dough rise better). It came out fabulous! Both, Hubby and Sprout, could not keep their hands off it the moment I took it out of the oven. Luckily I even caught one of the thieves in action.
Apple Cinnamon No Knead Bread
- 2 cups whole wheat flour
- 2 cup white unbleached flour
- 2 cups slightly warm water
- 1 tsp salt
- 1 tsp unbleached sugar
- 1 tsp instant or rapid rise yeast
- 1 cup raisins
- 1 tsp ground cinnamon (optional)
- zest of 2 lemons (or any other citrus fruit)
- 1 large apple, cut into small pieces
- do everything as in the original recipe, with an addition of folding in remaining ingredients after mixing the dough together (so, when you make the dough)
My little munchkin LOVED her couple of slices of Apple Raisin bread and kept calling it “cookie”.
Let me know if you make a loaf (or two), and if you make any variations of this recipe.
Spread bread love! Share this recipe on the web, through email and any other way you can imagine!
Enjoy! Now you can feel like a professional baker!
PS
There were some questions about whether cast iron pots are the only option fro this bread. From what I have seen on other posts with similar recipes, and especially on this one (a good source of comments and notes from various cooks), the following can be a good options as well:
Clay pots with lids, Pizza stone with a bowl to cover the bread, insert from a crockpot, pyrex baking dish with a lid, stainless steel pot with a lid, baking dish covered with aluminum foil…
Give it a try! Let me know what you use to make this recipe.
